Composting is a sustainable way to recycle organic waste and create nutrient-rich soil for your garden. Building a compost bin at home is simple, cost-effective, and highly beneficial for plants. This guide will walk you through the steps to build your own compost bin and maintain it effectively.
Why Composting is Beneficial
- Reduces Waste: Diverts kitchen and garden scraps from landfills.
- Improves Soil Health: Adds organic matter and nutrients to the soil, enhancing fertility and structure.
- Encourages Microbial Activity: Promotes beneficial microorganisms that support plant growth.
- Saves Money: Reduces the need for store-bought fertilizers and soil amendments.
Types of Compost Bins
1. Basic Open Pile
- Simple and cost-free.
- Best for larger gardens with space for an open compost area.
2. Wooden Compost Bin
- Durable and blends well with natural surroundings.
- Can be built using pallets, wood planks, or reclaimed wood.
3. Plastic Compost Bin
- Compact and suitable for smaller spaces.
- Often comes with lids to retain heat and moisture.
4. Tumbler Compost Bin
- Easy to turn and aerate.
- Ideal for quick composting and minimal manual effort.
5. Worm Bin (Vermicomposting)
- Uses worms to break down organic matter.
- Perfect for indoors or small spaces.
Materials Needed to Build a Wooden Compost Bin
- Wooden pallets or planks (untreated wood).
- Nails or screws.
- Hammer or drill.
- Hinges (optional, for a lid or door).
- Wire mesh (optional, for ventilation).
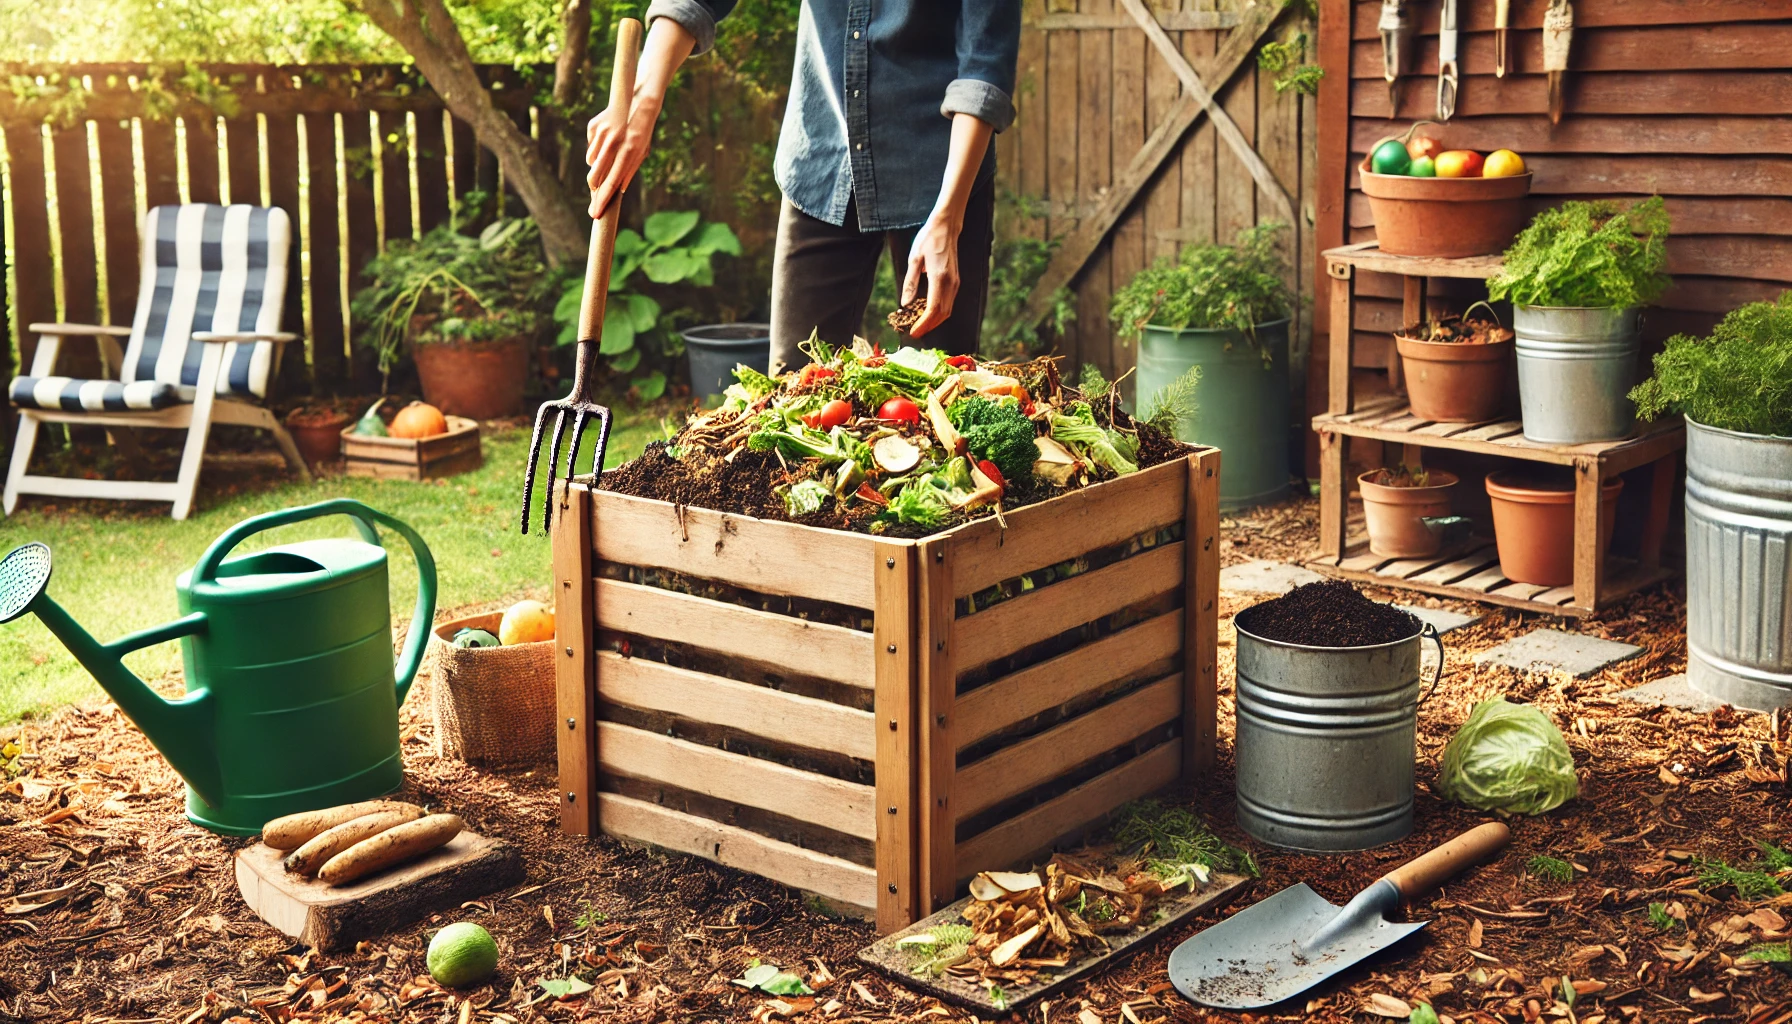
How to Build a Wooden Compost Bin
Step 1: Choose a Location
- Select a well-drained area with partial sunlight.
- Ensure easy access for adding materials and turning the compost.
Step 2: Assemble the Frame
- Use wooden pallets or planks to create a square or rectangular frame.
- Secure the sides with nails or screws, leaving one side open for easy access.
Step 3: Add Ventilation
- Leave small gaps between wooden slats or add wire mesh to promote airflow.
- Proper ventilation prevents odor and speeds up decomposition.
Step 4: Optional Features
- Add a hinged door for easy removal of finished compost.
- Build a lid to retain heat and moisture, especially in rainy areas.
What to Compost
Green Materials (Nitrogen-Rich)
- Fruit and vegetable scraps.
- Coffee grounds and tea bags.
- Grass clippings.
Brown Materials (Carbon-Rich)
- Dry leaves and twigs.
- Shredded paper or cardboard.
- Sawdust (untreated).
Avoid These Materials
- Meat, dairy, or oily foods (attract pests).
- Diseased plants.
- Pet waste.
Maintaining Your Compost Bin
1. Layer Materials
- Alternate layers of green and brown materials to balance nitrogen and carbon.
- Aim for a 2:1 ratio of browns to greens.
2. Turn the Compost
- Use a pitchfork or compost turner to aerate the pile every 1-2 weeks.
- Turning promotes even decomposition and prevents odors.
3. Monitor Moisture
- The pile should feel like a damp sponge. Add water if it’s too dry, or mix in dry browns if it’s too wet.
4. Be Patient
- Compost typically takes 2-6 months to mature, depending on materials and conditions.
Using Your Compost
- Garden Beds: Mix compost into the soil to enrich it before planting.
- Top Dressing: Spread a layer of compost around plants to retain moisture and provide nutrients.
- Potting Mix: Blend compost with potting soil for container gardening.
Troubleshooting Common Issues
- Odor: Caused by too much green material or poor aeration. Add browns and turn the pile.
- Slow Decomposition: Check the moisture level and ensure a good mix of greens and browns.
- Pests: Avoid composting food scraps like meat and cover fresh materials with brown layers.
Conclusion
Building a compost bin is an easy and eco-friendly way to turn waste into valuable fertilizer for your garden. With regular maintenance and the right balance of materials, you’ll create nutrient-rich compost that helps your plants thrive while reducing your environmental footprint.