Repotting is an essential part of plant care that ensures healthy root growth, better nutrient absorption, and overall plant vitality. Knowing when and how to repot your plants can prevent issues like root binding and soil depletion. In this guide, we’ll walk you through the process of repotting your plants step by step.
Why Repotting Is Important
- Encourages Growth: Repotting provides more space for roots to grow, promoting healthier plants.
- Refreshes Soil: Over time, soil loses nutrients, and repotting replenishes the plant’s supply.
- Prevents Root Binding: When roots outgrow their pot, they can become tangled and restrict water and nutrient absorption.
- Improves Drainage: Replacing old, compacted soil ensures better drainage and aeration for roots.
Signs Your Plant Needs Repotting
- Roots growing out of drainage holes or circling around the pot.
- Soil dries out quickly after watering, indicating insufficient soil volume.
- Stunted growth or yellowing leaves due to nutrient depletion.
- Water pooling on the surface, a sign of compacted soil.
- The plant is top-heavy or leaning, suggesting it has outgrown its pot.
When to Repot Plants
The best time to repot most plants is during their active growing season, typically spring or early summer. Avoid repotting during dormancy (fall or winter) unless necessary, as plants are less equipped to handle stress during these times.
How to Choose the Right Pot
- Size: Select a pot that is 1-2 inches larger in diameter than the current one. Too large a pot can retain excess water and lead to root rot.
- Material: Terracotta pots are porous and provide good airflow, while plastic pots retain moisture longer. Choose based on your plant’s needs.
- Drainage: Always use pots with drainage holes to prevent waterlogging.
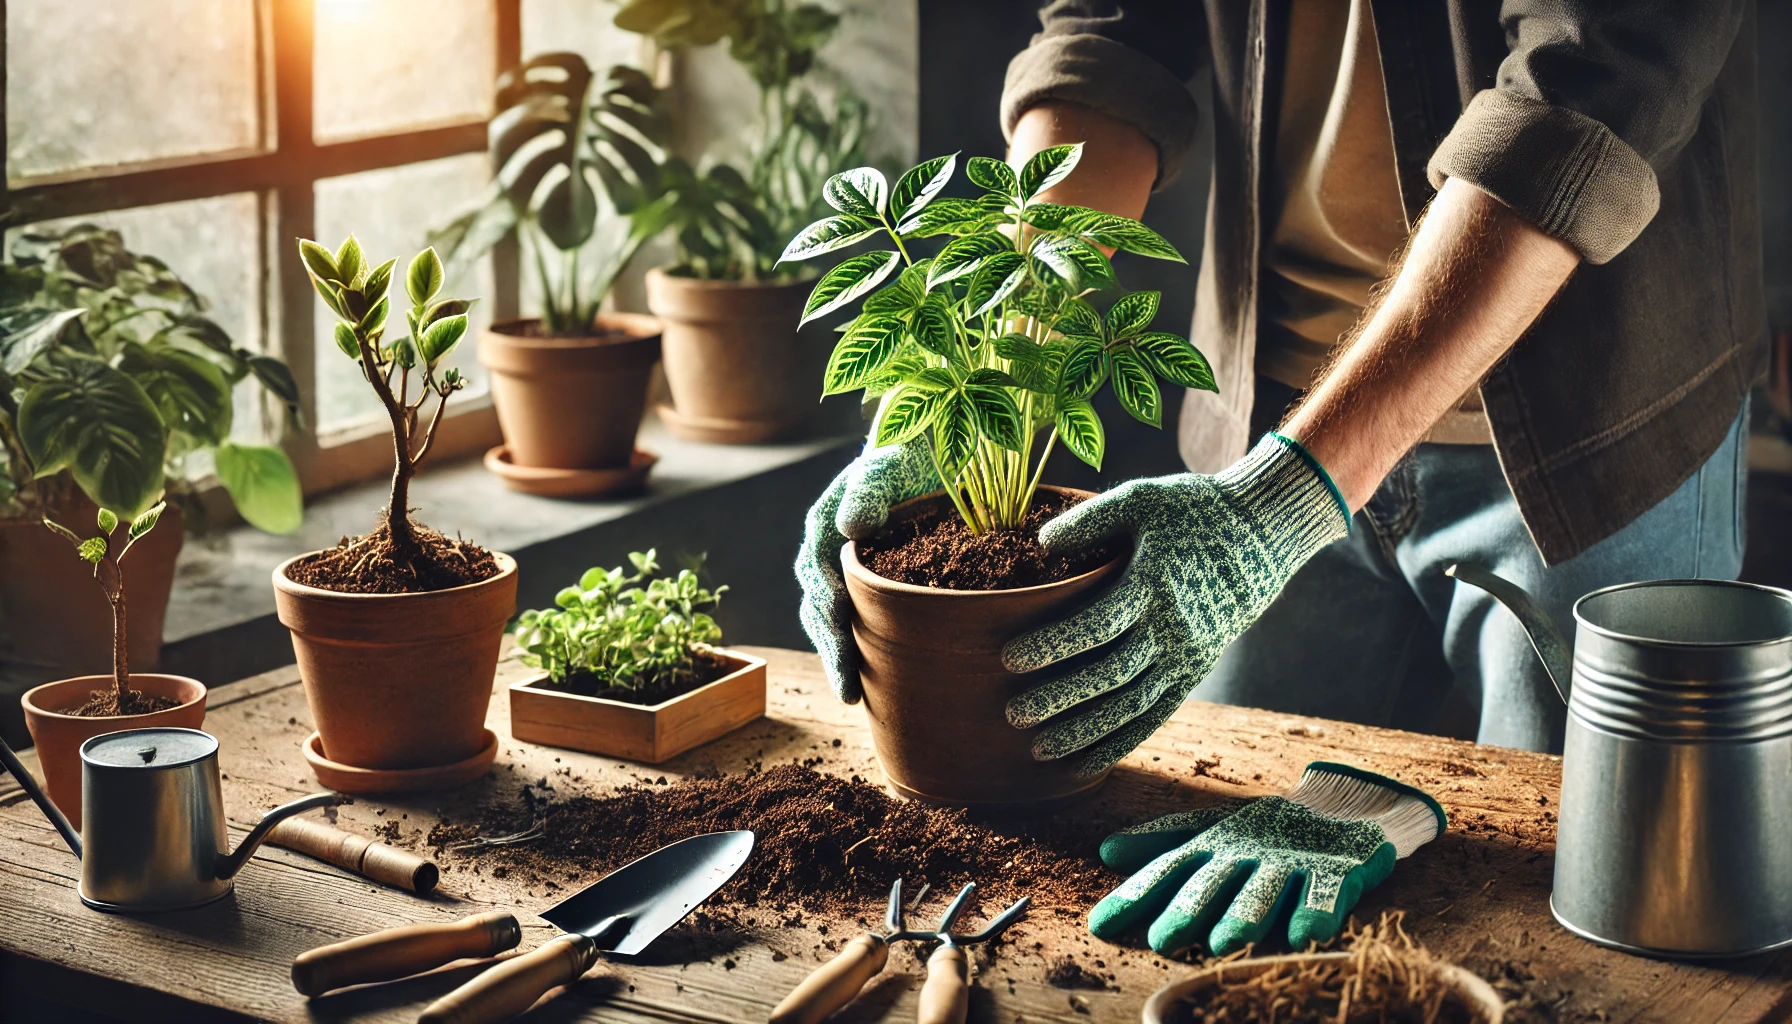
Step-by-Step Guide to Repotting Your Plant
Step 1: Gather Materials
- A new pot with drainage holes.
- Fresh potting soil suitable for your plant type.
- Gardening gloves, a trowel, and scissors or pruning shears.
- Watering can or spray bottle.
Step 2: Prepare the New Pot
- Add a layer of fresh potting soil to the bottom of the new pot. Ensure the soil layer allows the plant to sit at the same depth as it was in the old pot.
Step 3: Remove the Plant from Its Current Pot
- Gently loosen the soil around the edges of the pot.
- Hold the plant by its base and carefully pull it out. If it’s stuck, tap the sides of the pot or use a knife to loosen the edges.
Step 4: Inspect the Roots
- Check for signs of root rot, such as black or mushy roots, and trim them with sterilized scissors.
- Untangle circling roots to encourage outward growth.
Step 5: Place the Plant in the New Pot
- Position the plant in the center of the new pot. Fill in the sides with fresh potting soil, gently pressing it down to eliminate air pockets. Avoid burying the plant deeper than its original level.
Step 6: Water Thoroughly
- Water the plant immediately after repotting to help the soil settle. Allow excess water to drain out.
Step 7: Adjust Placement
- Place the plant in its usual spot but avoid direct sunlight for the first few days to reduce stress.
Caring for Your Plant After Repotting
- Water Sparingly: Don’t overwater right after repotting; let the soil dry slightly before the next watering.
- Monitor Growth: Keep an eye on the plant for signs of stress, such as wilting or yellowing leaves.
- Avoid Fertilizing Immediately: Wait 2-4 weeks before applying fertilizer to allow the plant to adjust.
Common Mistakes to Avoid
- Choosing a Pot That’s Too Big: Excess soil retains more water, increasing the risk of root rot.
- Skipping Root Inspection: Failing to check and trim roots can carry over existing problems into the new pot.
- Overpacking Soil: Compressing the soil too much can reduce aeration and impede root growth.
- Repotting During Blooming: Avoid repotting flowering plants while they’re in bloom, as this can cause stress and flower loss.
Conclusion
Repotting is a vital practice for maintaining healthy, thriving plants. By following these steps and giving your plants the space and nutrients they need, you’ll ensure long-lasting growth and vitality. With a little care and attention, your plants will reward you with lush foliage and vibrant blooms.